Sunday, March 6, 2016

Post 22.0

It's Been A Long Time...

As I was planning my move, I promised myself I would provide photos from the move, before and after decorating photos, just photos galore! Well, that didn't happen. I got consumed with the move, ordering things for the new home and when I started to enjoy my new home, didn't want to add one more thing to my To-Do List.

Here are some photos from my walk through on the finished product and a few I took after I placed the furniture in its rightful place:


Thursday, September 24, 2015

Post 21.1

Moving Tips...

As I viewed the last post, I realized packing and moving is overwhelming to me. Especially because I have little space to pack, but need space for boxes, etc.

These are some tips I will be utilizing. Keep in mind, I don't have any children to move (these items were omitted from the checklists below), just my two dogs and we're moving to a new build from my father's home and other items in a 10x20 storage unit.

Create a moving binder with the following tabs:

  1. Find an online printable that you can use as a guide to what needs to be done before, during, and after the move.
  2. Calendar - To keep track of appointments. Use a calendar and remember to write down the who, where, what, and when for each appointment. These are all appointments to cancel/transfer relating to the move, i.e., walk-through, closing, moving company schedule, utilities, cable/internet, etc. I would actually have a calendar with one full year in this section. You may run into things that the builder will need to repair, which will require you to make an appointment.
  3. Loan Documents - for easy access and reference, keep in a safe and reachable place until after the move.
  4. Receipts - This section is for any purchases that are made in reference to the move or the house.
  5. Movers - This section is for the moving company selection or truck rental contract and their contact numbers.
  6. Builder - Any contact numbers for your builder, any warranties, any manuals, additional paperwork, etc.
  7. Inventory List - This section is where you can write down itemized lists for packed boxes.

Ensure this binder is color coded and create the legend to go along with it. Also purchase folders to keep items related to the move that are smaller than a regular size sheet of paper in its rightful place. This will make things a lot simpler when getting organized for the move.


Begin planning your move by doing the following:

  1. Ask friends or research the internet for a moving company reference at least 6 weeks before THE BIG MOVE DAY.
  2. Purchase packing supplies, i.e., boxes, tape, sharpies, scissors, labels, bubble wrap, packing paper, and trash bags if the moving company is not providing them.
  3. Create a "Moving Basket". This is for all the necessary labels, tape, sharpies, scissors, etc. No more searching for lost items.
  4. Notify utility services up to two weeks prior to your move. Schedule them to turn off at your old home the day after your move, and turn on at the new home a couple of days prior to moving in.
  5. Change address with creditors, financial institutions, DMV/MVA, voter registration, paypal, place of employment, insurance, friends and family, subscriptions, and associations.
  6. Research cable, internet and phone provider bundles in the new area and set up appointments for service installation.
  7. Pre-order new checks with the new address.
  8. Withdraw cash for unexpected expenses during the move.
  9. Unplug and defrost your refrigerator 1-2 days before moving.

Here are some notes on packing prep found on the internet:

  1. Purchase printable address labels. Type your name, new address, and one phone number/email address. Place one on each box you pack.
  2. Use the same printable address labels to sort boxes you know goes in each room within your new home. To eliminate the thinking and estimating factor, print an entire sheet of labels for each room. For example: KITCHEN, BEDROOM 1, MASTER BEDROOM, etc. Also, type a number for each box in the room category. For example: "KITCHEN - 1", "KITCHEN - 2", "MASTER BEDROOM - 1", etc. 
  3. Use the same printable address labels to let the movers know what's heavy and fragile. I would print an entire sheet of each. For example: "HEAVY" or "FRAGILE" OR "UNPACK FIRST"
  4. If time permits, write down or type a detailed description of what is in each box, like "1 - Kitchen pots," or "3 - sheets for master bedroom". This list should be enough to help you figure out which box you can leave packed and the ones you need to unpack.
  5. Purchase good packing tape, boxes, tubs, etc. You do not want your items mishandled during the move.

Here are some notes for actually packing:
  1. Figure out what can be packed first. These are things that won't be missed, as well as things that can be packed neatly away so you don't feel like the walls are closing in.
  2. Use trash bags for clothes that are already hanging. You can leave them on hangers and it will be an easy transition to your new closet.
  3. Cook food ahead of the move or order food when you arrive. You will be unpacking and nothing is easier than warming up cooked food or have it delivered and not worrying about pots and pans. If you share this with the movers, they will appreciate it too.

Post 21.0

Moving on the brain...

I have begun making calls in preparation of the hopefully the last move of my life! Movers are scheduled as planned. I will follow up in a few weeks to ensure the date stays the same. I definitely don't want to move the same day I close. That was a promise I made to myself. According to the schedule from Ryan Homes, I have my walk through on October 22 and close on October 26. This is perfect because I can have the utilities switched, cable/internet installed, furniture ordered and painting done before the weekend (THE BIG MOVE). Because I work from home, I'm praying for a seamless transition.

I visited the house today because I didn't see where I recorded the window measurements for the morning room. I also didn't have the measurements for the master bathroom window. Walking in, I was surprised to see the flooring down. I had "cabinets" in my head, not flooring. Also saw the interior doors up, granite all counters, mirrors, banister, some cabinetry knobs and clothing racks for the closet.

Take a look at these updated photos....

Living Room

Foyer

Dining Room

Living Room

Dining Room

Living Room and Dining Room

Family Room

Morning Room and partial Kitchen

Morning Room and Kitchen
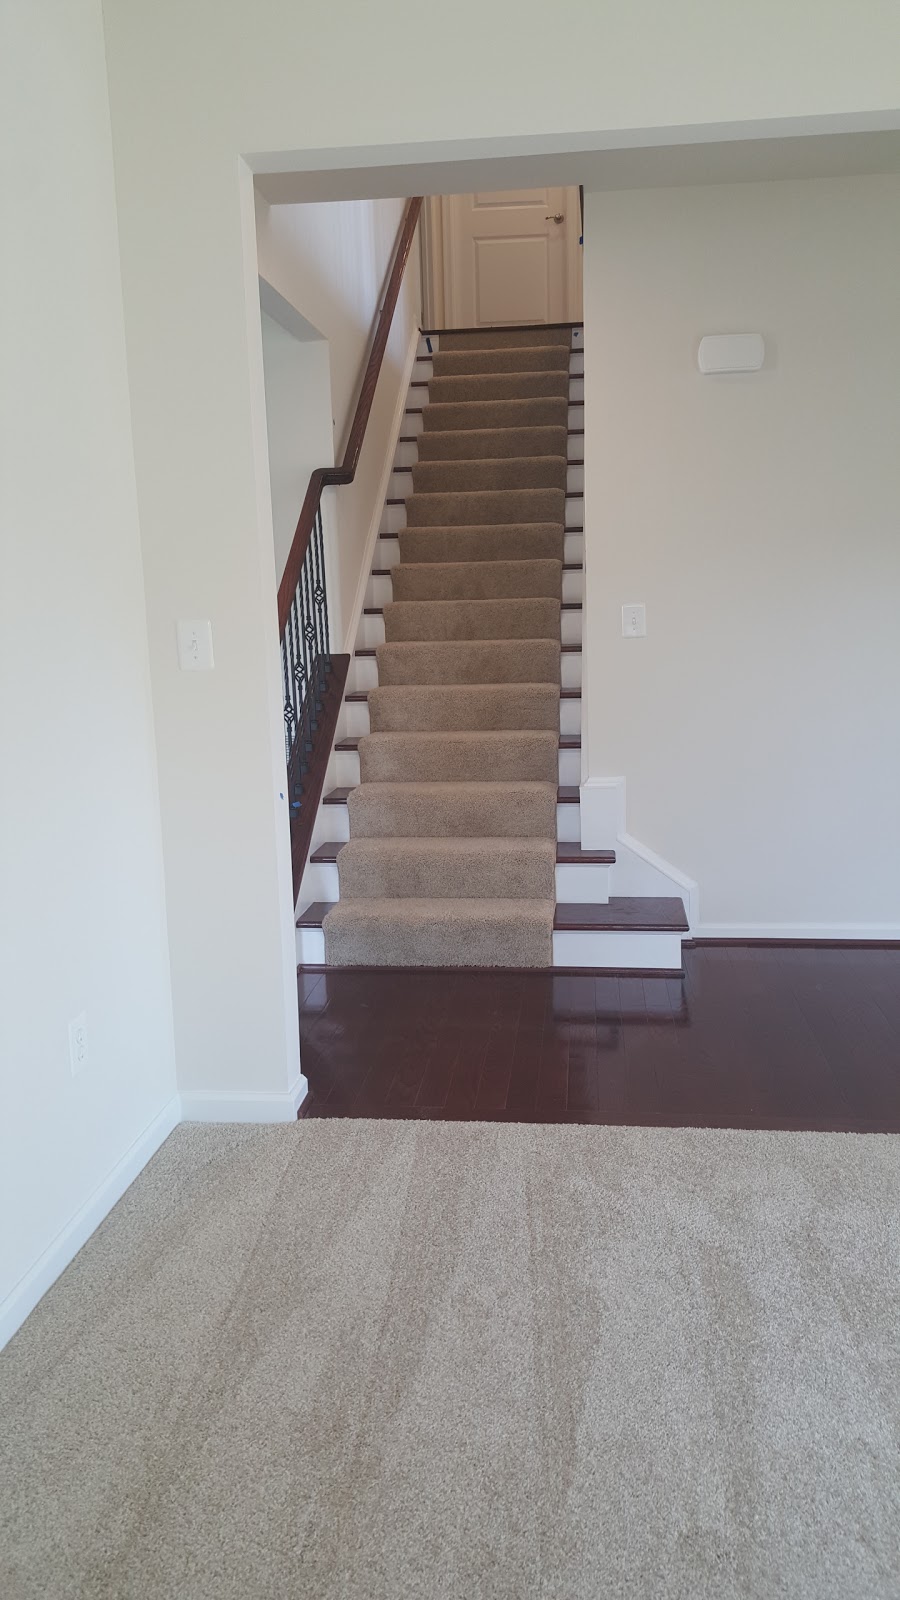
Kitchen and Stairs

flooring - carpet and hardwood

granite counter tops in kitchen

Morning Room

Kichen - pantry and double oven location

My "side yard"

Walk-up

Kitchen

Pantry and walkway to Powder Room

cabinetry in Kitchen

Kitchen

Kitchen

Looking downstairs

View of upstairs hallway

Guest bathroom 

Guest bathroom - double sinks

Flooring in Laundry Room (vinyl)

Laundry Room

Bedroom 1

Bedroom 1

Loft (got it closed in)...it's my Home Office

Home Office

Home Office

Bedroom 2

Bedroom 2

Bedroom 2

Master Bedroom

Master Bedroom

Master Bedroom

Master Bathroom

Master Bathroom

Master Bathroom

Tub and Shower in Master Bathroom

Window in Master Bathroom

Tile in Master Bathroom

Tray Ceiling in Master Bedroom

Upstairs Hallway

Upstairs Hallway

House Audio Control

Speaker for House Audio

Thermostat

View from Stairs overlooking partial Living Room, Dining Room and Family Room

View from Stairs overlooking Dining Room and Family Room

View from Stairs overlooking Family Room and Morning Room

Viewing flooring transition from Family Room to Kitchen

Viewing flooring transition from Family Room to Kitchen

View from Dining Room to Living Room

Front

Mailbox!

Front Door